Getting Started with BusyCal for iOS
This tutorial provides instructions for getting started with BusyCal for iOS and an overview of its features.
This tutorial provides instructions for getting started with BusyCal for iOS and an overview of its features.
Introduction
BusyCal is a calendar and task manager for iOS that can be used as an alternative to the built-in iOS Calendar and Reminders apps.
BusyCal's unique and powerful features include customizable calendar views, integrated tasks that display in the calendar and carry forward until completed, support for weather and moon phases, and much, much more.
Welcome
When you open BusyCal for the first time, you’re presented with the Welcome screen.
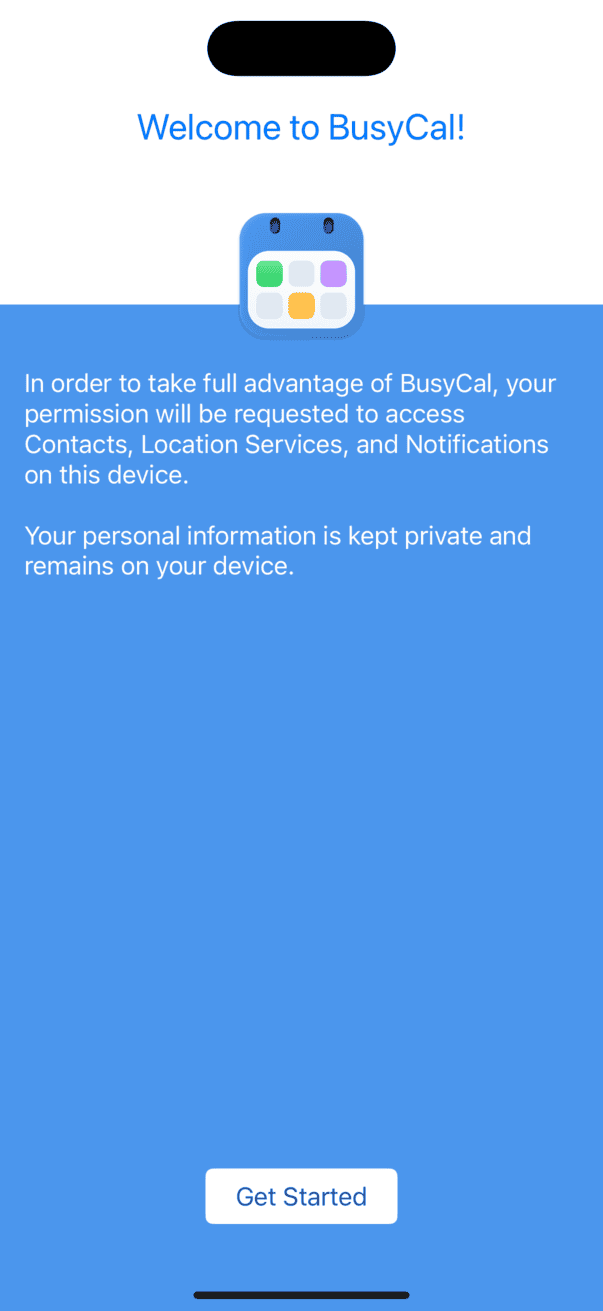
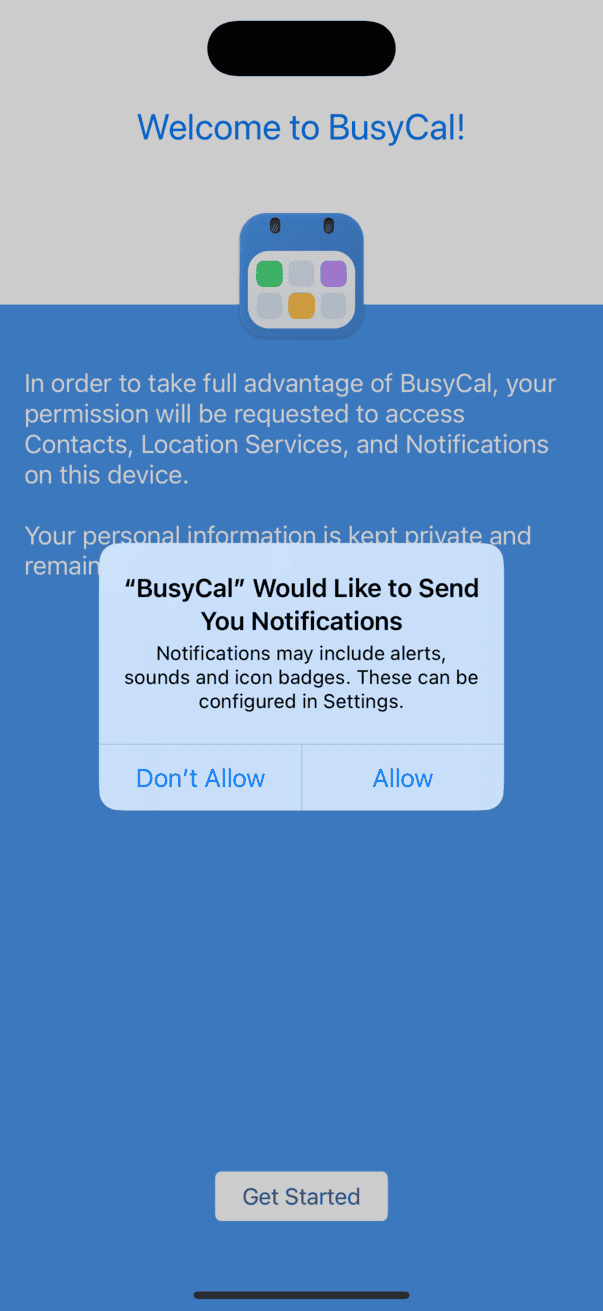
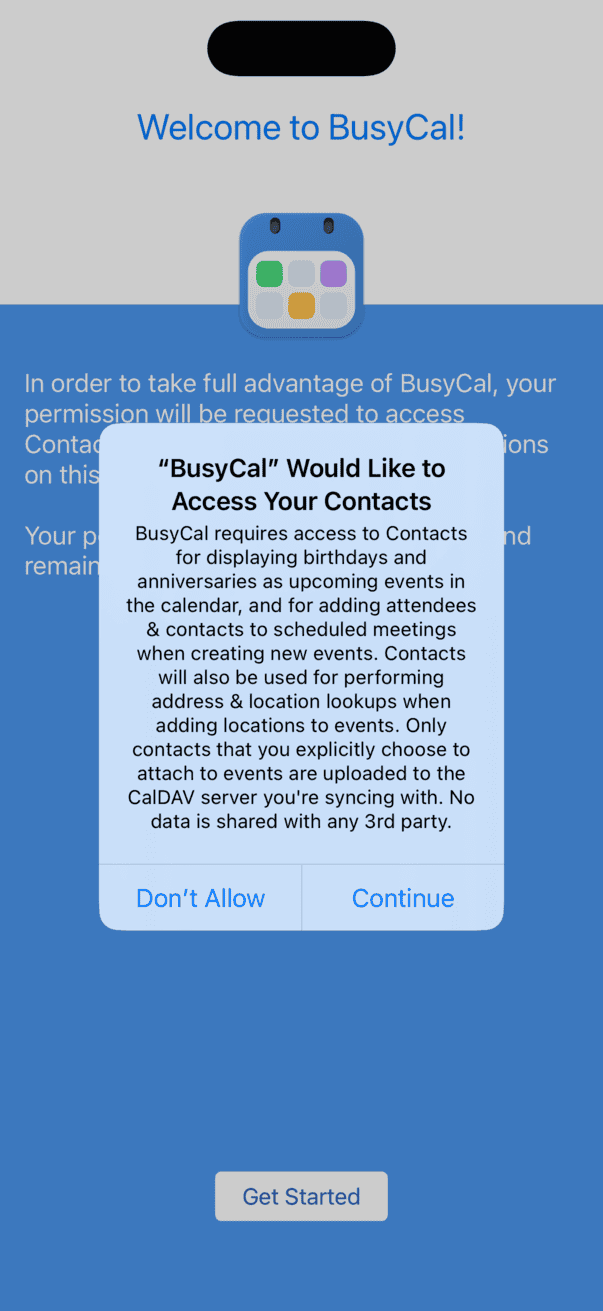
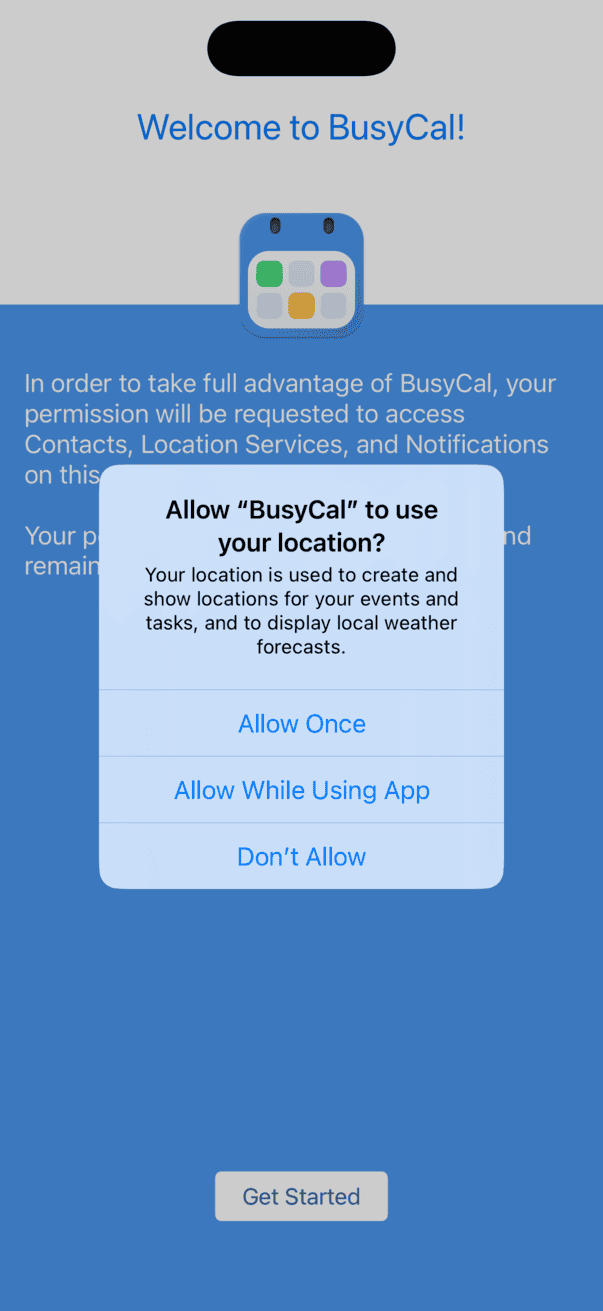
After you tap Get Started, you’ll see a series of alerts in which BusyCal requests permission to access Calendars, Reminders, Contacts, Location, and Notifications. (Not all permission alerts appear on all devices.) Tap Allow or OK for each one.
Syncing with a Cloud Service
After you grant BusyCal permission to use the various types of iOS data, the app prompts you to add a cloud-based calendar account.
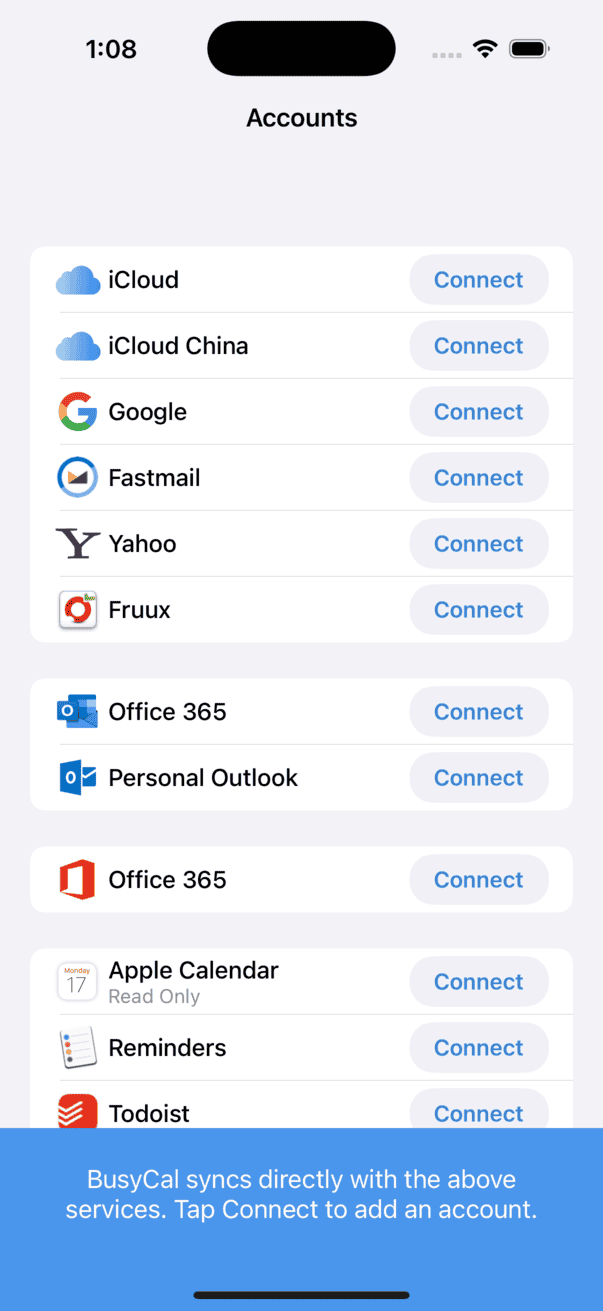
BusyCal can sync with many calendar servers, including iCloud directly, Google, Outlook, Office 365, Exchange, and others.
To set up an account, tap the Connect button next to an account type, enter your credentials, and tap Add.
You can set up additional accounts by tapping Add Another Account; you can also skip that step for now and add more accounts later. For more information, see the help pages on syncing BusyCal for iOS with iCloud, Google Calendar, Office 365 / Outlook, Exchange, CalDAV, and Todoist.
Syncing with BusyCal Mac
BusyCal can sync with the built-in Calendar and Reminders apps on macOS, as well as with the macOS version of BusyCal, but only through a cloud-based service (iCloud, Exchange, Google, or a CalDAV server). When you add an account to BusyCal iOS, such as iCloud and then do the same in BusyCal on macOS, you automatically begin syncing the same calendars and events between the two devices.
Ensure you have added the same accounts to all your devices
When you launch BusyCal for the first time, Settings > Accounts will automatically display any accounts you previously added on another device (such as your Mac). This happens seamlessly via iCloud—no manual setup required. Simply select the account and tap Use This Account to activate it.
🔒 Your credentials are never stored in the cloud or synced automatically. For security reasons, you must re-enter your login details when prompted the first time BusyCal attempts to sync.
For more information, see Syncing BusyCal for iOS with a Mac.
Calendars
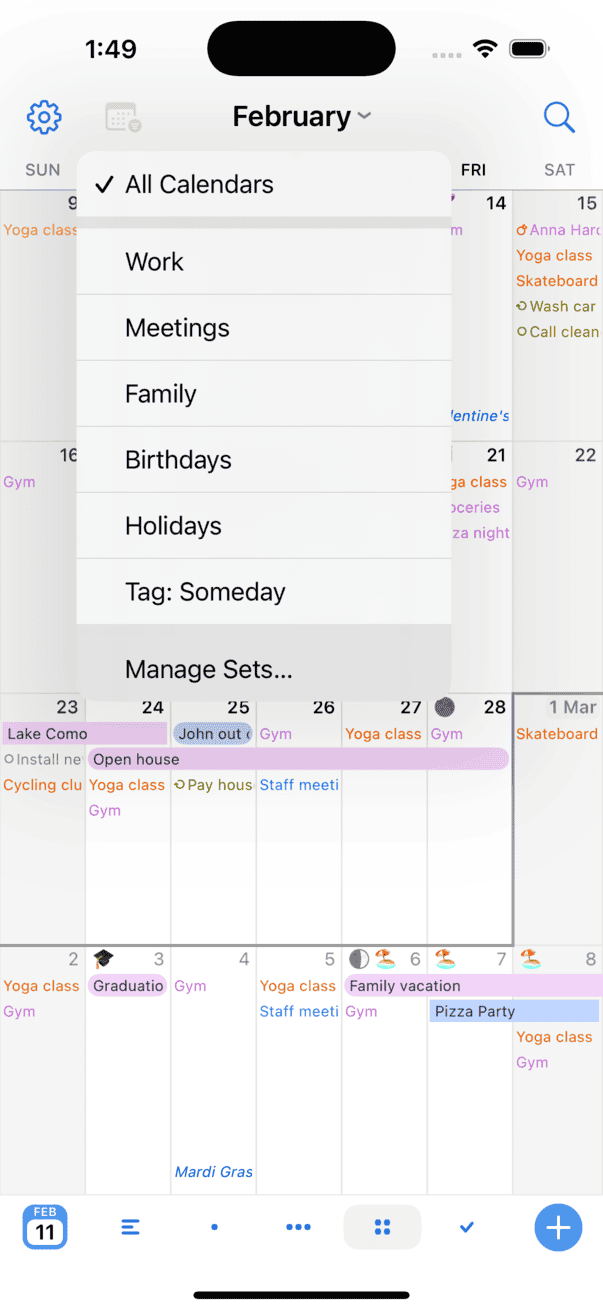
After you have finished adding your accounts, BusyCal will begin syncing and displaying your events / tasks in the calendar. By default, all events from all your calendars will show under a newly created Calendar Set named My Calendar Set. You can customize the calendars you wish to see by customizing calendar sets. Learning more here.
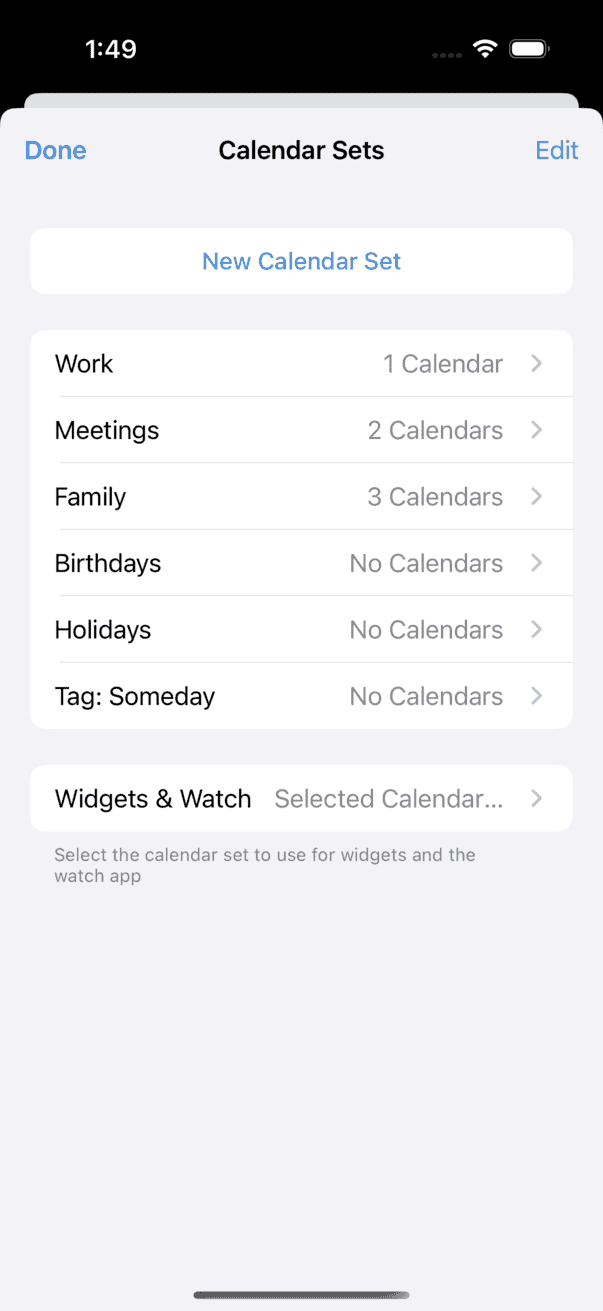
When editing a Calendar Set, calendars are grouped by source:
- iCloud, Google, Outlook, Exchange, etc. — Calendars hosted on a server such as iCloud, Google, Exchange, Fastmail, or other CalDAV Server.
- Other — Displays birthdays and anniversaries from the iOS Contacts app, plus read-only calendar subscriptions from a WebDAV server, like a holiday calendar.
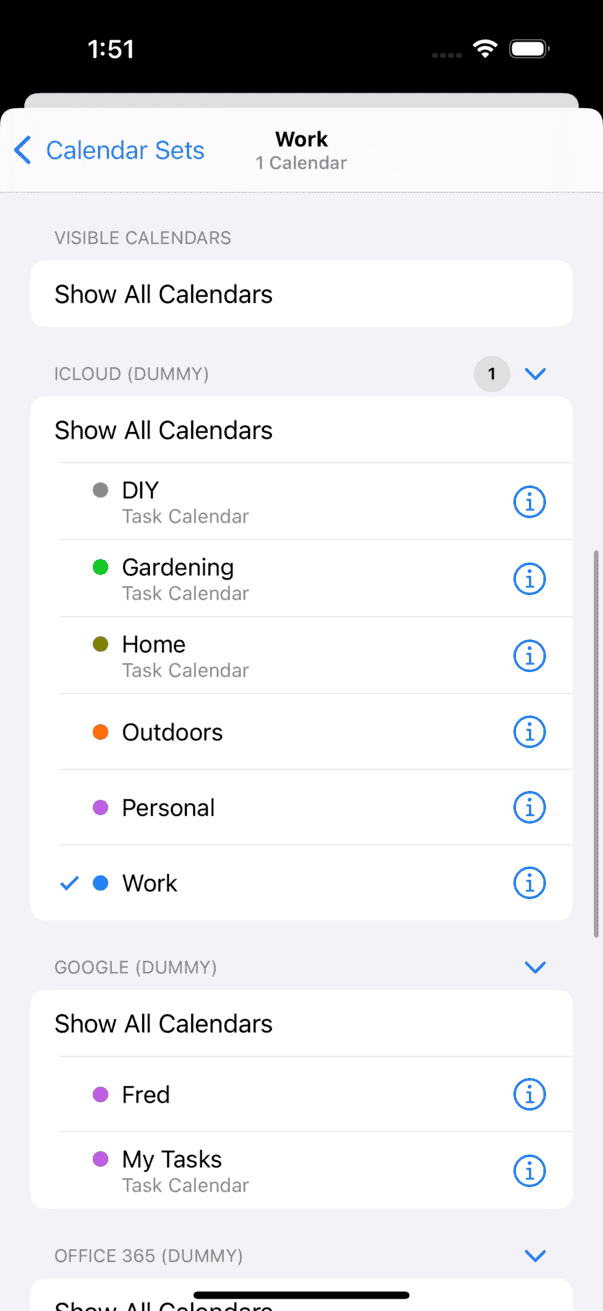
Calendars with checkmarks are visible in BusyCal. To hide or show a calendar, tap its name. To hide or show all calendars in a given account, tap Show All account-name (for example, “Show All iCloud”). To hide or show all calendars in all accounts, tap Hide All Calendars or Show All Calendars at the top of the screen.
To change a calendar’s details, tap the (i) icon to the right of its name in the calendar list.
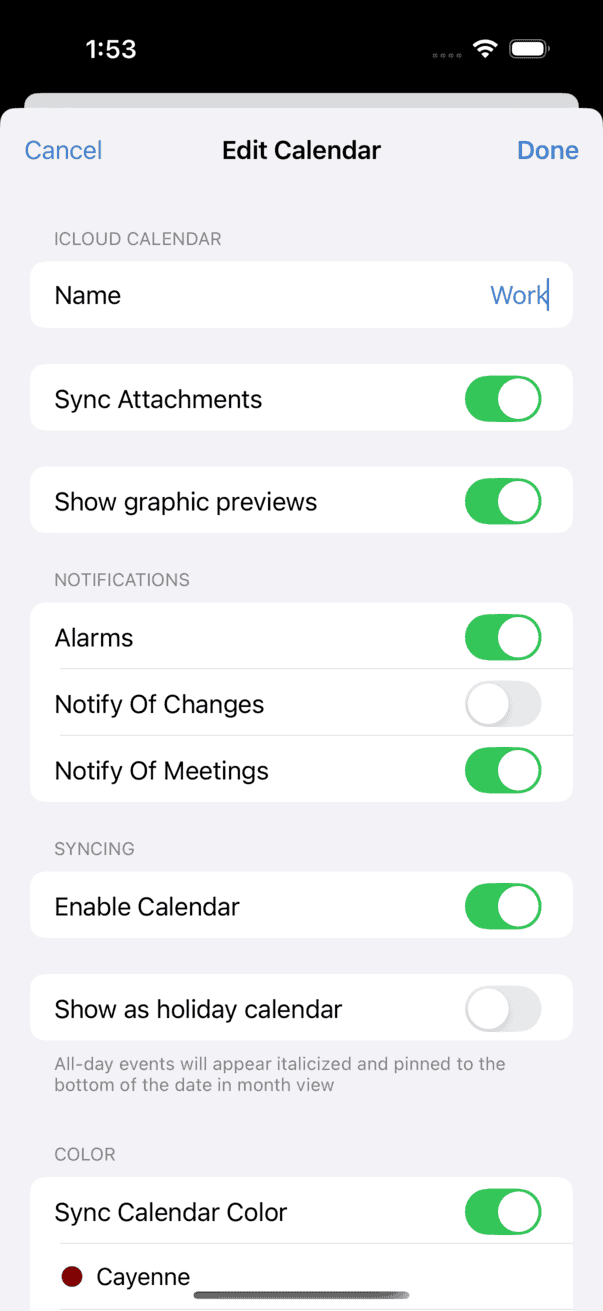
In the Edit Calendar view that appears, you can:
- Rename the calendar
- Tap a color to change the color of the calendar (and all its events)
- Turn Alarms on or off for this calendar
- Turn Notify Of Changes on or off for this calendar; if on, BusyCal displays an alert when items on the calendar are added or changed by someone else
- Enable or disable syncing for the calendar, using the Enable Calendar switch
See Calendar Sets for more details.
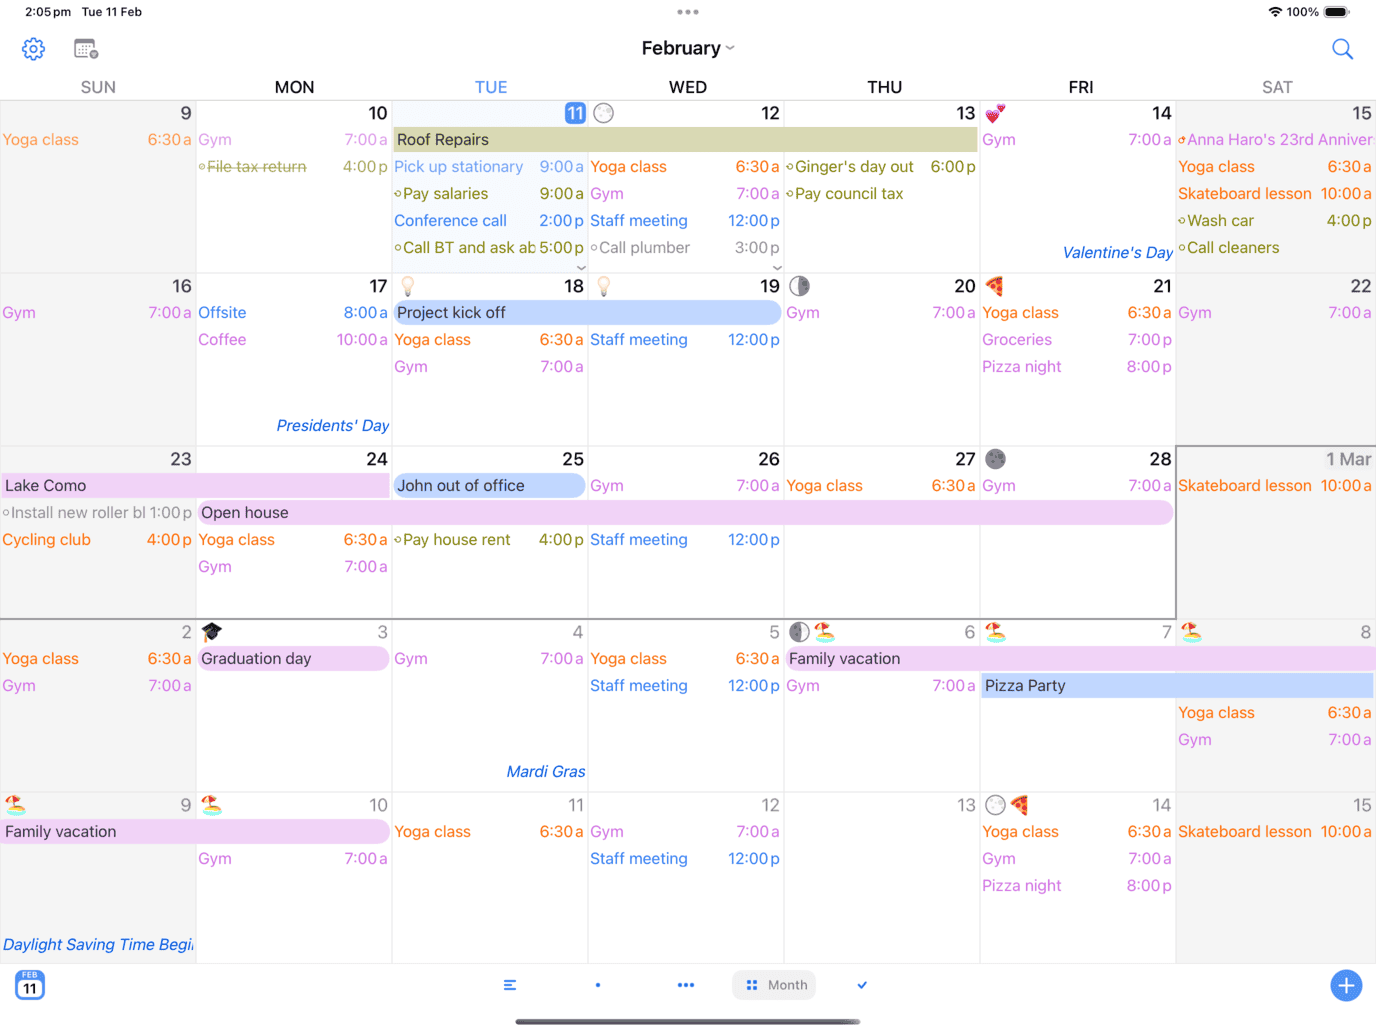
Views
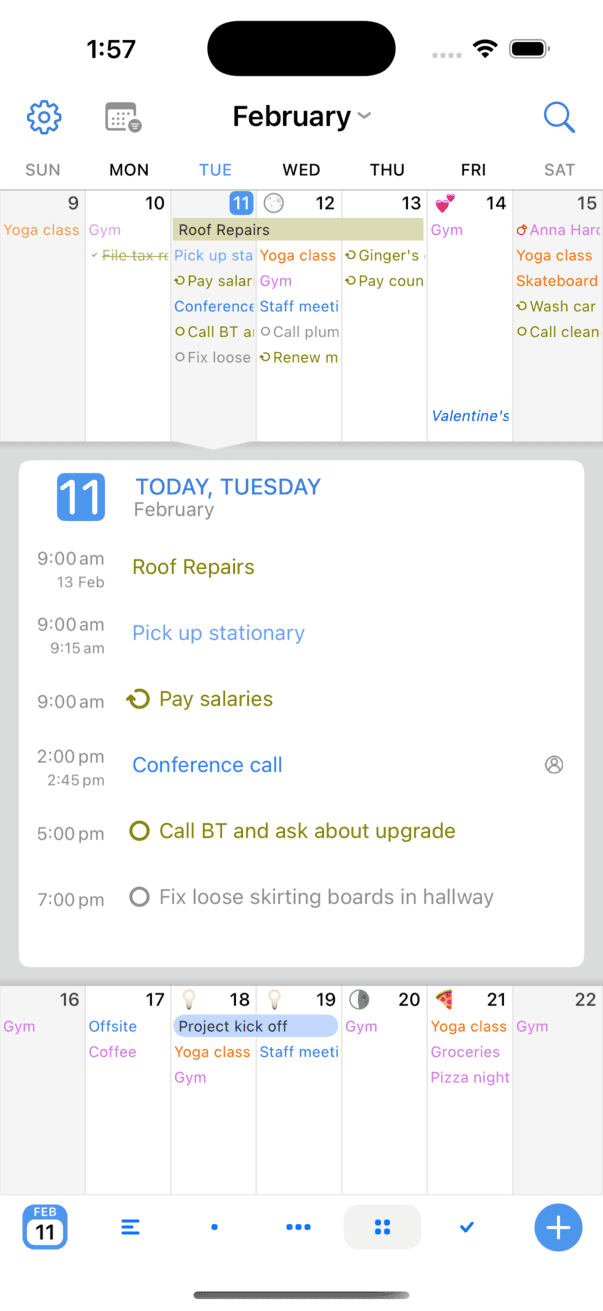
BusyCal provides several views for displaying your calendar: Day view, Week view, Month view, Year view, and List view. Tap a view name at the bottom of the screen to change the view. On iPad, all views are always available. On iPhone, the Year View tab appears when the device is in landscape orientation.
In any view, tap an event to see its details. In Month view, since the display of individual events might be quite small, you can tap a day to see an accordion with all that day’s individual events; tap an event within this accordion to see its details.
Scrolling Views
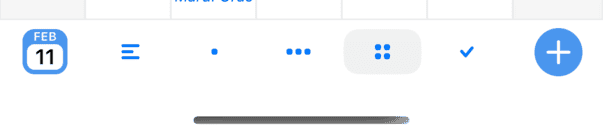
You can scroll the view in BusyCal by swiping, just as in any other iOS app. Regardless of where you scroll, you can instantly return the view to the current day, week, or month (or, if already in the current time period, highlight today’s date) by tapping the calendar icon in the lower-left corner of the screen showing today’s date.
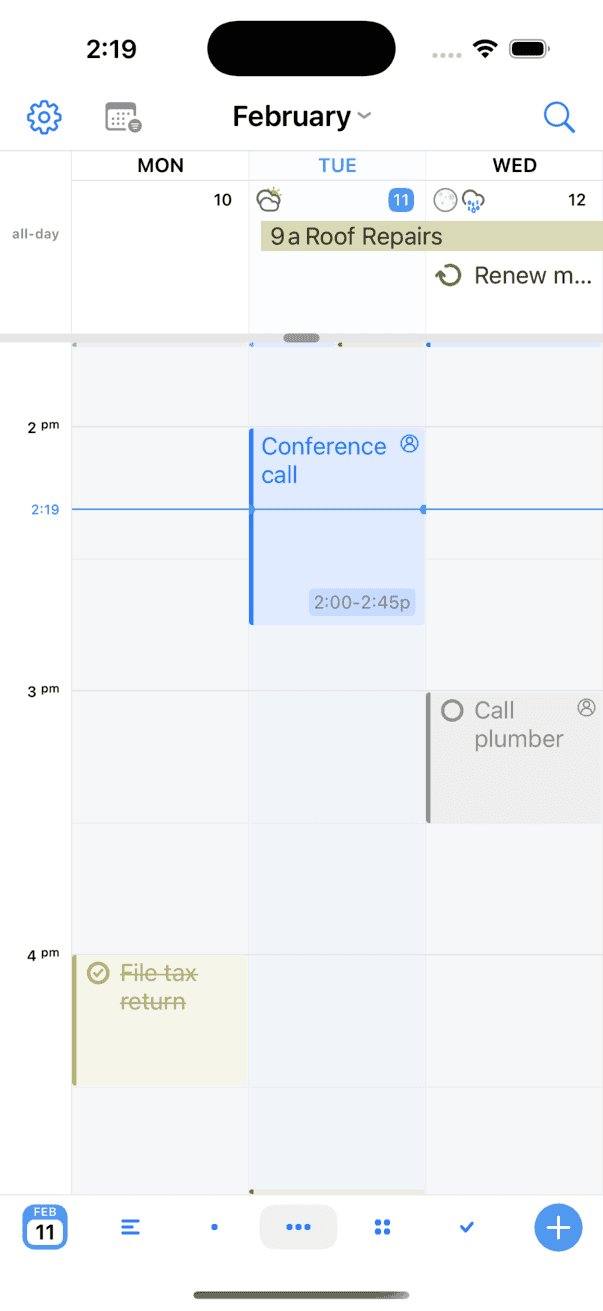
Day View
- To view to earlier or later times in the current day, swipe up or down.
- To scroll backward or forward one day at a time, swipe left or right.
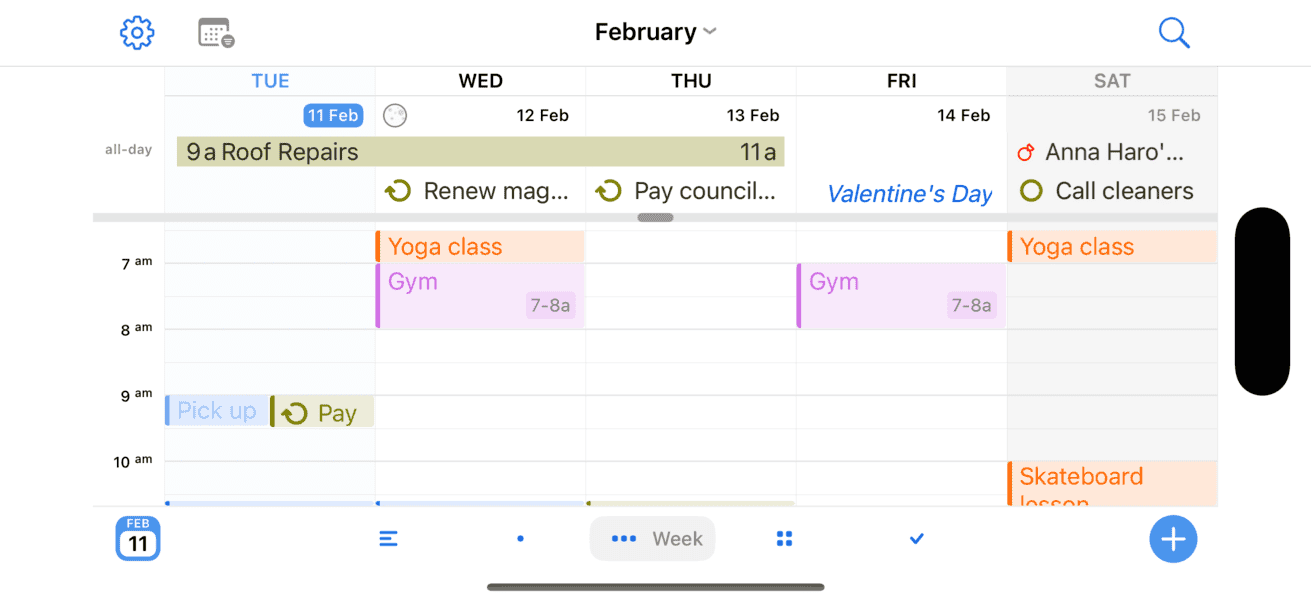
Week View
- To view to earlier or later times of day, swipe up or down.
- To scroll backward or forward to earlier or later days, swipe left or right.
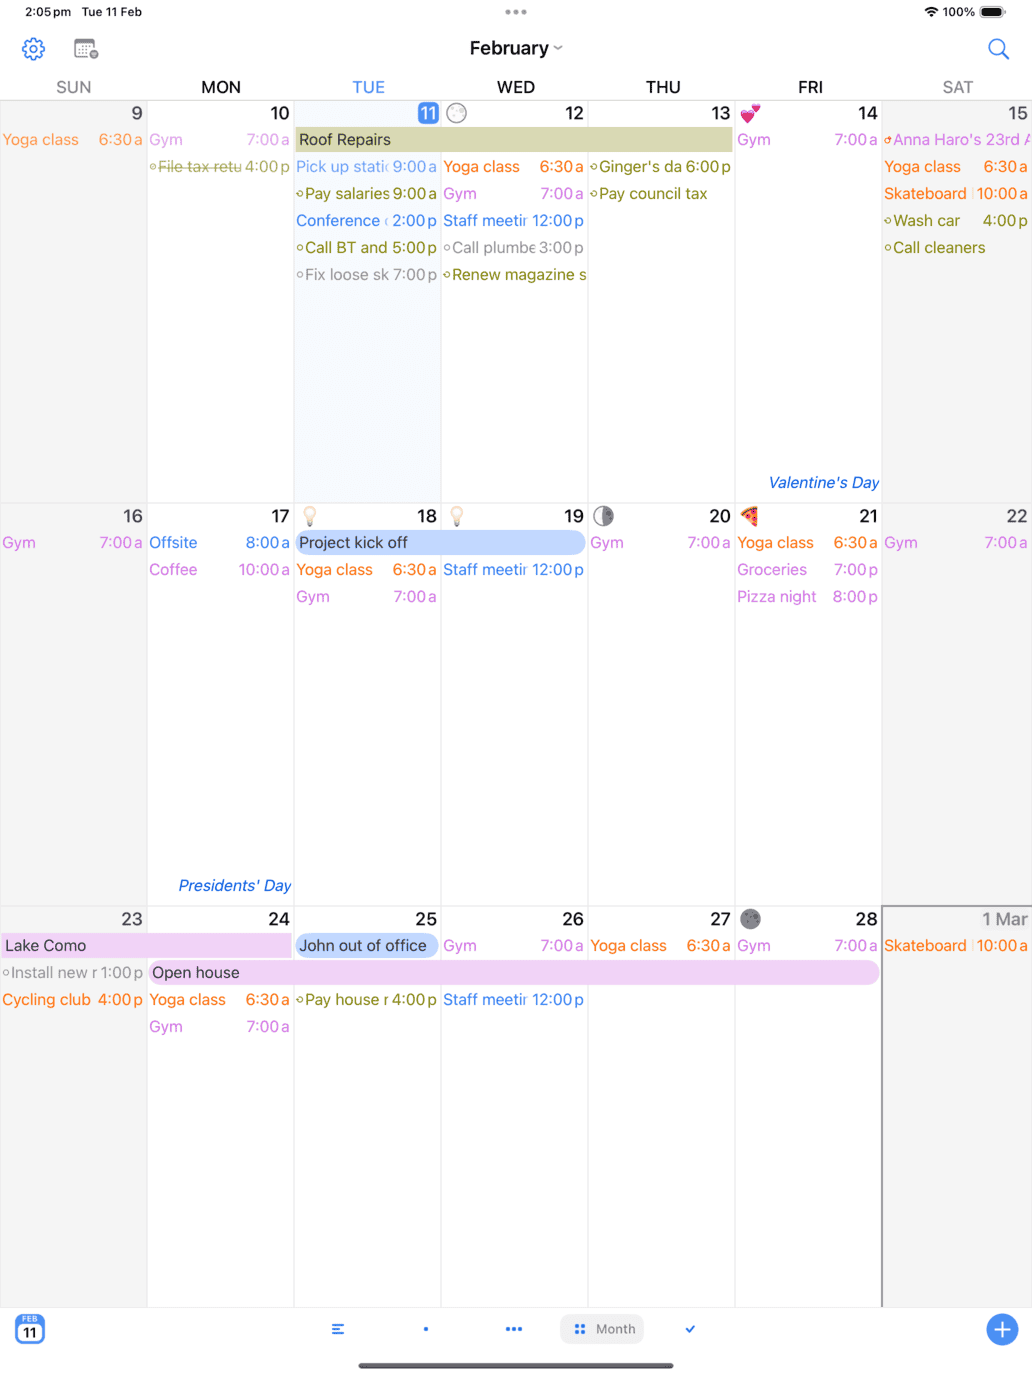
Month View
- To scroll backward or forward one week at a time, swipe up or down.
Customizing the Number of Days per Week and Weeks per Month
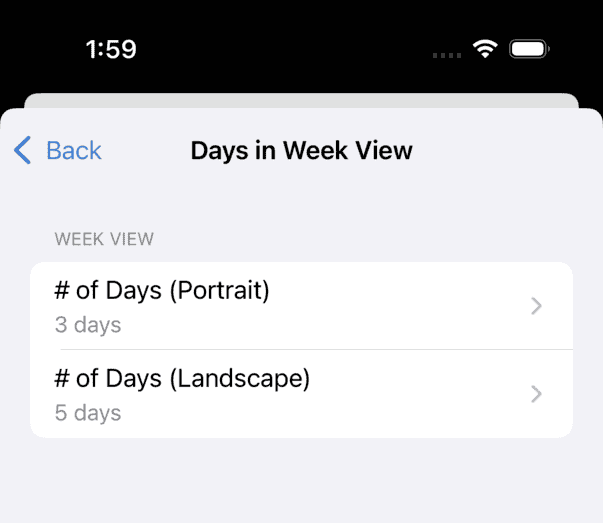
You can change the number of days shown in Week view (from 2–7 days) by pinching or spreading two fingers, or by tapping Settings > View Preferences > Days in Week View and then tapping one of the available options. You can choose a different number of days per week for Portrait and Landscape view—for example, you may want to show a full 7 days on an iPhone when it’s held in Landscape orientation, but only 2 days when held in Portrait orientation.
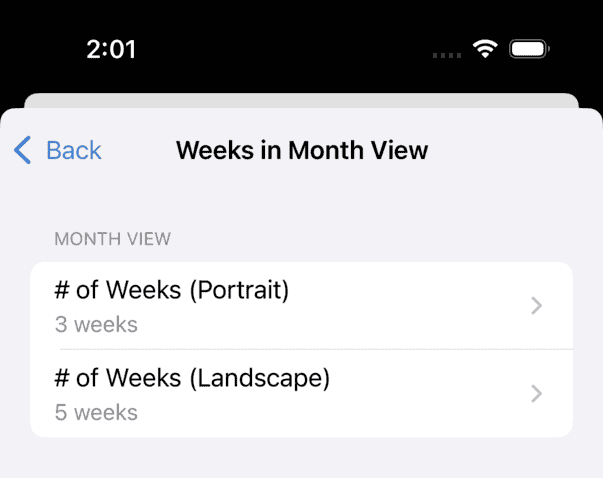
Likewise, you can change the number of weeks to show in Month view (from 2–8 weeks) by pinching or spreading two fingers, or by tapping Settings > View Preferences > Weeks in Month View
and then tapping one of the available options. You can choose a different number of weeks per month for Portrait and Landscape view—for example, you may want to show a full 5 weeks on an iPad when it’s held in Portrait orientation, but only 3 weeks when held in Landscape orientation.
Weather and Moon Phases
While we’re on the subject of customizing the appearance of your calendar, you may have noticed the 7-day weather forecast and moon phases that appear in the calendar. To enable or disable these settings, tap Settings > Show in Calendar > Weather or Settings > Show in Calendar > Moon Phases, respectively.
For more information, see Weather.
Events
BusyCal supports the following event types:
- Banner — An all-day event that can span multiple days.
- Event — An event with a start and end time.
- Dated Task — A task with a due date that appears in the calendar and/or Task List. See Tasks for more information.
- Timed Task — A task with a due date and time that appears in the calendar and/or Task List. See Tasks for more information.
- Undated Task — A task with no due date that appears only in the Task List. See Tasks for more information.
BusyCal for Mac supports additional event types, including stickies, journals, and graphics. If you add any such events in BusyCal for Mac, they appear in BusyCal for iOS after syncing. Stickies and journals appear as all-day events on your iOS device.
To create a new event, tap the + (plus) icon in the upper-right corner of BusyCal’s calendar (or Task List) view. Then tap Event (if it’s not already selected), and fill in the details. You can edit event details in the Event Details view (described just ahead).
For more information, see Event Types.
Event Details View
BusyCal includes an Event Details view for viewing and editing details of events and tasks, which appears when you create a new event or task, or when you tap an existing event or task. To make changes to the event or task, tap Edit in the upper-right corner of the screen; doing so reveals controls for setting additional details. Tap Done to record your changes. (You can change the priority, calendar, or alarms of an event or task without first tapping Edit.)
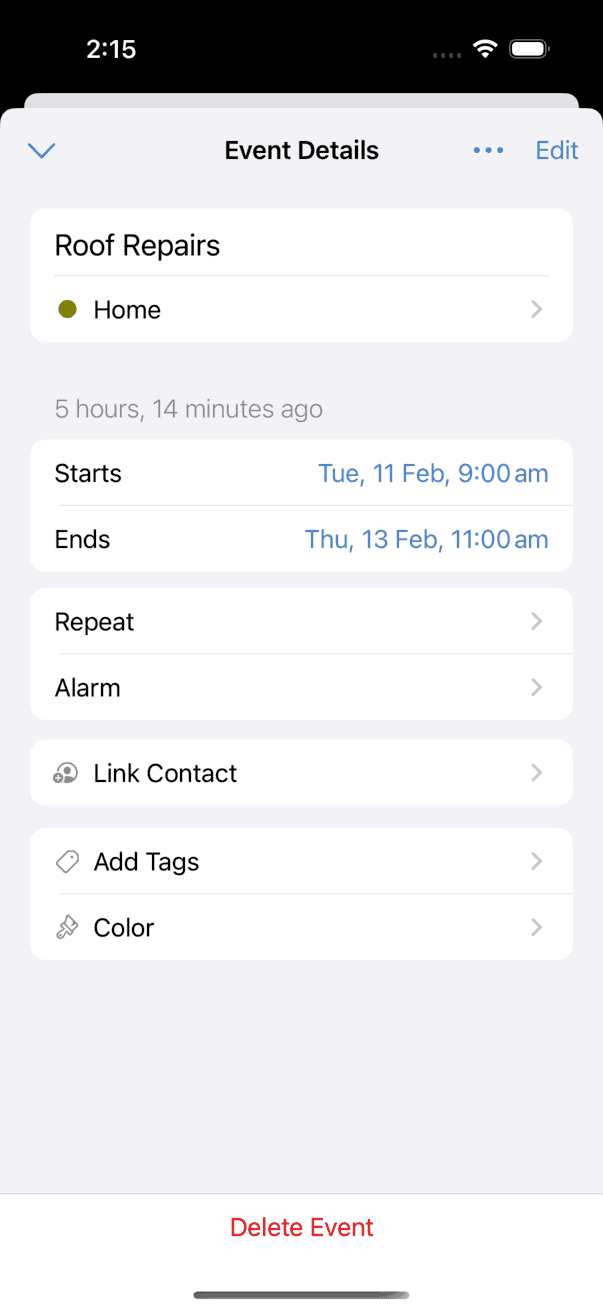
The Event Details view is customizable. You can choose to show just the basics, or add additional fields like tags or a URL. For more information, see Event Details.
Tasks
In BusyCal, tasks are integrated into your calendar. Tasks can be displayed in the calendar on the date they are due or displayed in the Task List.
Tasks come in three flavors—dated, timed, and undated. Dated tasks have a due date and can be displayed in the calendar; timed tasks also have an associated time. Undated tasks do not have a due date or time and can be displayed only in the Task List.
Tasks in the Calendar
Regardless of your Task List settings, dated tasks and completed tasks appear in the calendar on the date they are due or completed. If a task is not completed on its due date, it carries forward each day until completed.
Task List
To show the Task List, tap Task at the bottom of BusyCal’s main screen.
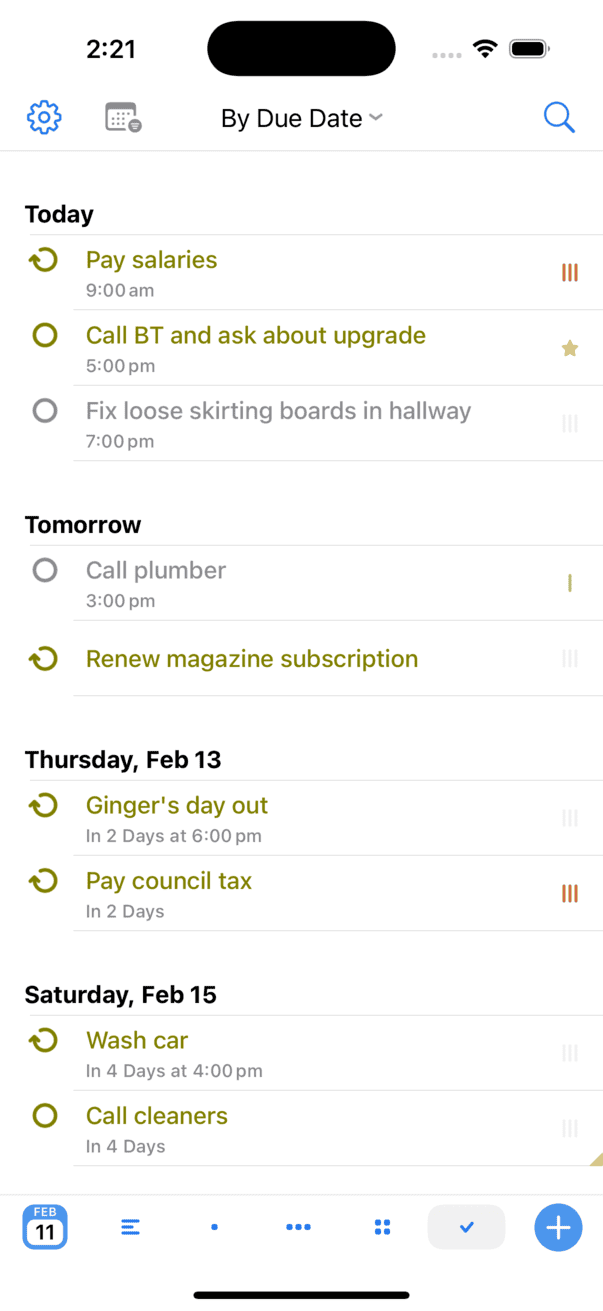
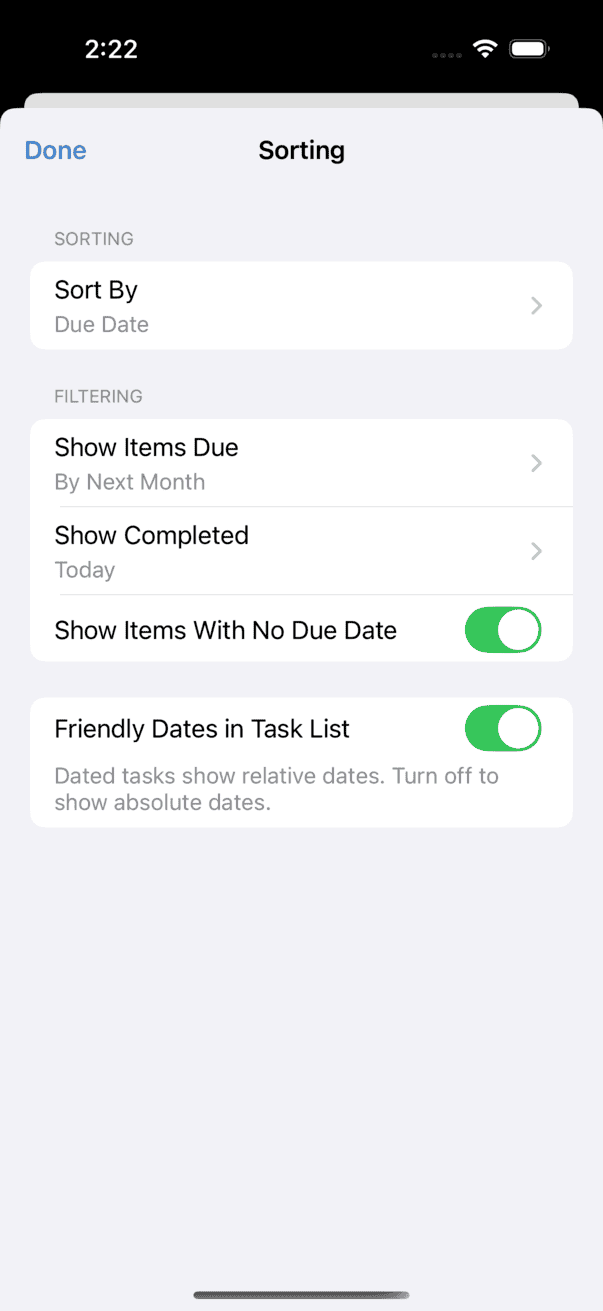
The Task List can be sorted by Due Date, Priority, Title, Calendar, Tag, or Manually. To change the sort order, tap the current sort order at the top of the screen (such as “By Due Date”), tap Sort By, and then tap the new sort criterion.
Task Calendars
BusyCal calendars are type-specific. A calendar can contain either events or tasks, but not both. BusyCal indicates a task calendar by displaying “(Task Calendar)” next to its name in the Calendars list (in Settings > Calendar Sets).
Creating Tasks
To create a new task, tap the + (plus) icon in the bottom-right corner of BusyCal’s calendar (or Task List) view. Then tap Task, and fill in the details. To make it a dated task, turn on Due Date and fill in the date; for a timed task, also turn on Due Time and fill in the time. (To create a repeating task, tap Repeat in the Event Details view followed by an interval: None, Daily, Weekly, Monthly, or Yearly.) Then tap Done.
If you mark a task as completed by tapping the “done” checkbox in the calendar, Task List, or Event Details view, the completed Task appears with a checkmark in front of it on the date that it was completed.
For more information, see Tasks.
Alarms
BusyCal can display alarms for events and tasks using iOS Notifications. Or, if you prefer—and you sync the same calendars in both apps—you can leave BusyCal’s alarms turned off and rely instead on notifications from the iOS Calendars app. But note that either app can display alarms only for the calendars it’s configured to sync.
To have BusyCal generate alarms:
- In BusyCal, go to Settings > App Icon & Alerts.
- Turn on Event Alarms and Task Alarms.
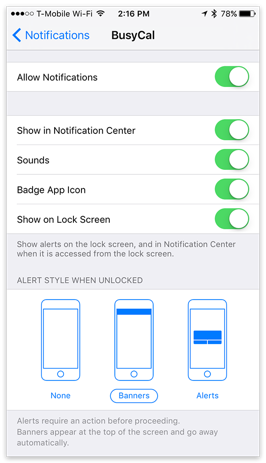
- In the main iOS System Settings app, go to Notifications > BusyCal. Turn on all desired options (likely all of them) and tap Banners (the default) or Alerts for the alert style when your iOS device is unlocked.
- Still in the main iOS System Settings app, go to Notifications > Calendar and turn off Allow Notifications. Repeat with Notifications settings for Reminders.
If you turn off notifications for Reminders, you can still receive location-based alerts in BusyCal, but you must go to Settings > Privacy > Location Services > BusyCal and tap Always (not just While Using the App).
![]()
To have the iOS Calendars and Reminders apps generate alarms:
- In BusyCal, go to Settings > App Icon & Alerts.
- Turn off Event Alarms and Task Alarms.
- In the main iOS System Settings app, go to Notifications > BusyCal. Turn off Allow Notifications.
- Still in the main iOS System Settings app, go to Notifications > Calendar and turn on Allow Notifications, along with all the specific notification types you want. Repeat with Notifications settings for Reminders.
If you have notifications enabled for BusyCal as well as Calendars and/or Reminders, you’ll see two alarms for each event or task. So it’s best to choose one or the other.
Creating an Alarm
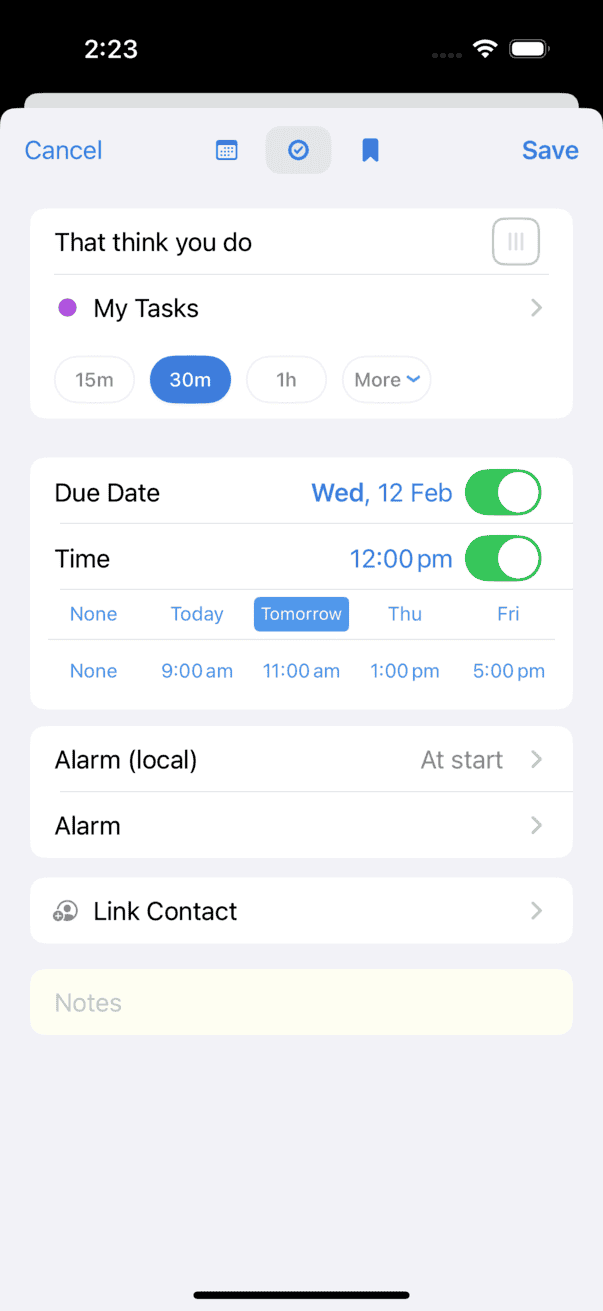
To demonstrate the Alarm function, let’s create a new event and attach an alarm to it.
To create a new event, tap the + (plus) icon in the upper-right corner of BusyCal’s calendar (or Task List) view and tap Event (if it’s not already selected). Then, in the Event Details view, set the event start time for approximately two minutes from now, and set the alarm to “At start”.
Then wait a minute or two for the alarm to appear. When it does, you can tap Close to dismiss the alarm, snooze it by tapping Snooze 5 Minutes, Snooze 15 Minutes, or Snooze 1 Hour, or open it in BusyCal by tapping Open.
For more information, see Alarms.
Birthdays and Anniversaries
BusyCal can display the birthdays and anniversaries from the iOS Contacts app in your calendar. Go to Settings > Show in Calendar, and turn on Birthdays and/or Anniversaries.
With these calendars enabled, a Birthdays calendar and an Anniversaries calendar appear under the Other heading in the Calendar List, and any contacts with birthdays or anniversaries in their Contacts records are displayed with special icons in the calendar.
For more information, see Birthdays and Anniversaries.
Holidays
BusyCal supports subscribing to read-only (WebDAV) public calendars like holidays and sports schedules. All-day events on public calendars appear as banners in BusyCal, just like other all-day events.
To subscribe to a public calendar:
- Go to Settings > Accounts.
- Tap Add Account.
- Tap the Connect button next to WebDAV.
- Type or paste the URL for the public calendar in the Calendar URL field.
- Optionally, tap Refresh to change how often the calendar refreshes, and/or turn off Enable Alarms for this calendar.
- Tap Add.
BusyMac provides links to popular public calendars here: Holiday and Sports Calendar Subscriptions. Note that you must copy the URL and paste it into BusyCal; if you simply tap a link on your iOS device, the calendar will be added to Calendar, not to BusyCal.
For more information, see Subscribing to Public Calendars.
More
That concludes the overview of BusyCal. But there’s more. Check out some of these other great features: